

I keep a labeled tray on the kitchen counter next to the coffee maker. That tray is where my morning routine lives: mug, spoon, and a jar of Vital Proteins Collagen Peptides Powder. I am 61, a retired middle-school PE teacher, and I teach two low-impact strength classes a week at our rec center. I am not a chemist. I just wanted my coffee to stop tasting like grit.
For months I did it wrong. I dumped the powder into coffee that was still rolling hot, stirred twice, and walked away. Ten seconds later I had a raft of powder floating on top and a sandy ring at the bottom of the mug. I tried a fork. I tried stirring faster. I tried adding the powder after I sat down at the table. None of it fixed the real problem, which was order of operations. The fix is simple once you see it, and it works with hot coffee, cold coffee, and the iced drink I make on Saturday.
The Unflavored Powder That Finally Quit Clumping in My Mug
Vital Proteins Collagen Peptides Powder is unflavored, dissolves in hot or cold drinks, and comes in a 14.3-ounce jar. I keep it in the tray by the coffee maker and use the serving size on the label.
Amazon Check Today's Price on Amazon →Why the Powder Clumps in the First Place
Here is what I think happens, and it matches what I see in the mug. Dry powder is full of tiny air pockets. When hot coffee hits it all at once, the outside of the powder gets wet and seals off the dry powder inside. You get a clump with a dry core. Stirring harder does not fix that. It just breaks the clump into smaller clumps that float around and stick to the spoon.
The order matters more than the tool. If the powder is already wet, the coffee cannot seal it off. That is why the splash of water works. It is also why a shaker bottle works. The powder and the water meet before the coffee does. I do not need a fancy machine. I need the powder to be wet before the hot liquid arrives.
I am not a food scientist. I am a retired PE teacher who has made a lot of bad coffee. But I have tested this enough mornings to trust it. The method below is the one I use. It works with the unflavored Vital Proteins Collagen Peptides Powder I keep in the tray. It should work with any powder that dissolves in liquid, but I can only vouch for what is in my kitchen. The 14.3-ounce jar lasts me a while because I use one serving most mornings, not a heaping mound.
Step 1: Put a splash of cool water in the mug first
I start with about two tablespoons of cool water in the bottom of the mug. Not cold brew, not milk, not hot coffee. Just water from the tap. The jar sits on the counter, and the water goes in first. This gives the powder somewhere to land besides the bottom of a hot mug. I do this before I even pour my coffee from the kettle, so the mug is ready when the coffee is.
Then I add the serving size printed on the label. I level it off with the back of a butter knife. I stir that small amount of powder into the splash of water until it looks like a thin paste. It takes maybe five seconds. There are still a few tiny flecks, and that is fine. The goal is to wet the powder before the hot coffee hits it. If I add the powder to a dry mug, those flecks turn into lumps.
Hot liquid can push dry powder into clumps before you have a chance to stir. The paste step keeps that from happening. I learned it from a friend who mixes protein powder the same way, and it works with Vital Proteins Collagen Peptides Powder because the powder is unflavored, so there is no flavor to fight. I do not need to add sugar or syrup to cover anything up. The coffee tastes like coffee.
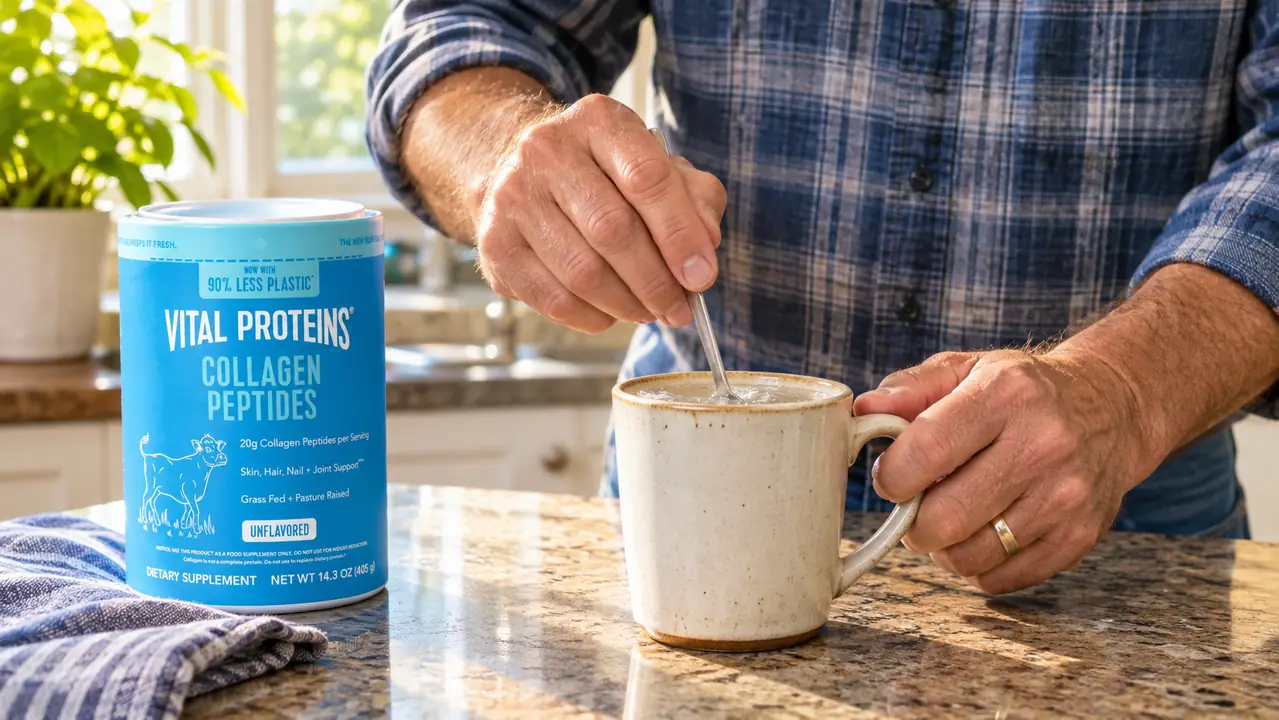
Step 2: Stir the paste before you add coffee
Once the powder is wet, I stir it for another few seconds. The paste should pull away from the sides of the mug. If it looks like a puddle with dry pockets, add a little more water, a teaspoon at a time. If it looks like thick cream, you are ready. I err on the side of a little too much water, because the coffee will thin it out anyway.
This is the step I used to skip. I would dump powder into a dry mug and pour coffee on top. The powder on the bottom stayed dry while the coffee swirled above it. Then I would stir and get a lumpy layer that stuck to the spoon. Starting with a paste solves that. It also keeps the powder from climbing the sides of the mug.
I do not use a blender for one mug. I do not use a frother. A small whisk or a regular spoon is enough. The paste is the whole trick. Everything after this is just pouring and stirring. If you only remember one step from this article, remember this one. Wet the powder first.
Step 3: Pour the hot coffee in slowly, not all at once
Now I pour the coffee in a slow stream while I stir with the other hand. I keep the mug on the counter, not in my hand. The coffee goes in a little at a time, and the spoon keeps moving. If I pour fast, the powder can still clump. If I pour slow, it blends into the paste and turns into coffee. I watch the color change from pale paste to dark coffee.
I let the coffee sit for about two minutes after I pour it from the kettle. Coffee right off the heat is harder to work with. The product page says the powder dissolves in hot or cold beverages, and that matches what I see. The temperature is a comfort thing for me. I do not need a thermometer. I just wait until the mug is warm, not scalding. On cold mornings I wait a little longer.
After the coffee is in, I stir a few more times and look at the bottom of the mug. If I see a small ring of powder, I stir again. If I see nothing, I am done. This takes less time than waiting for the toaster. I set the spoon on the little dish by the tray, wipe the counter if I splashed, and take the mug to the table.
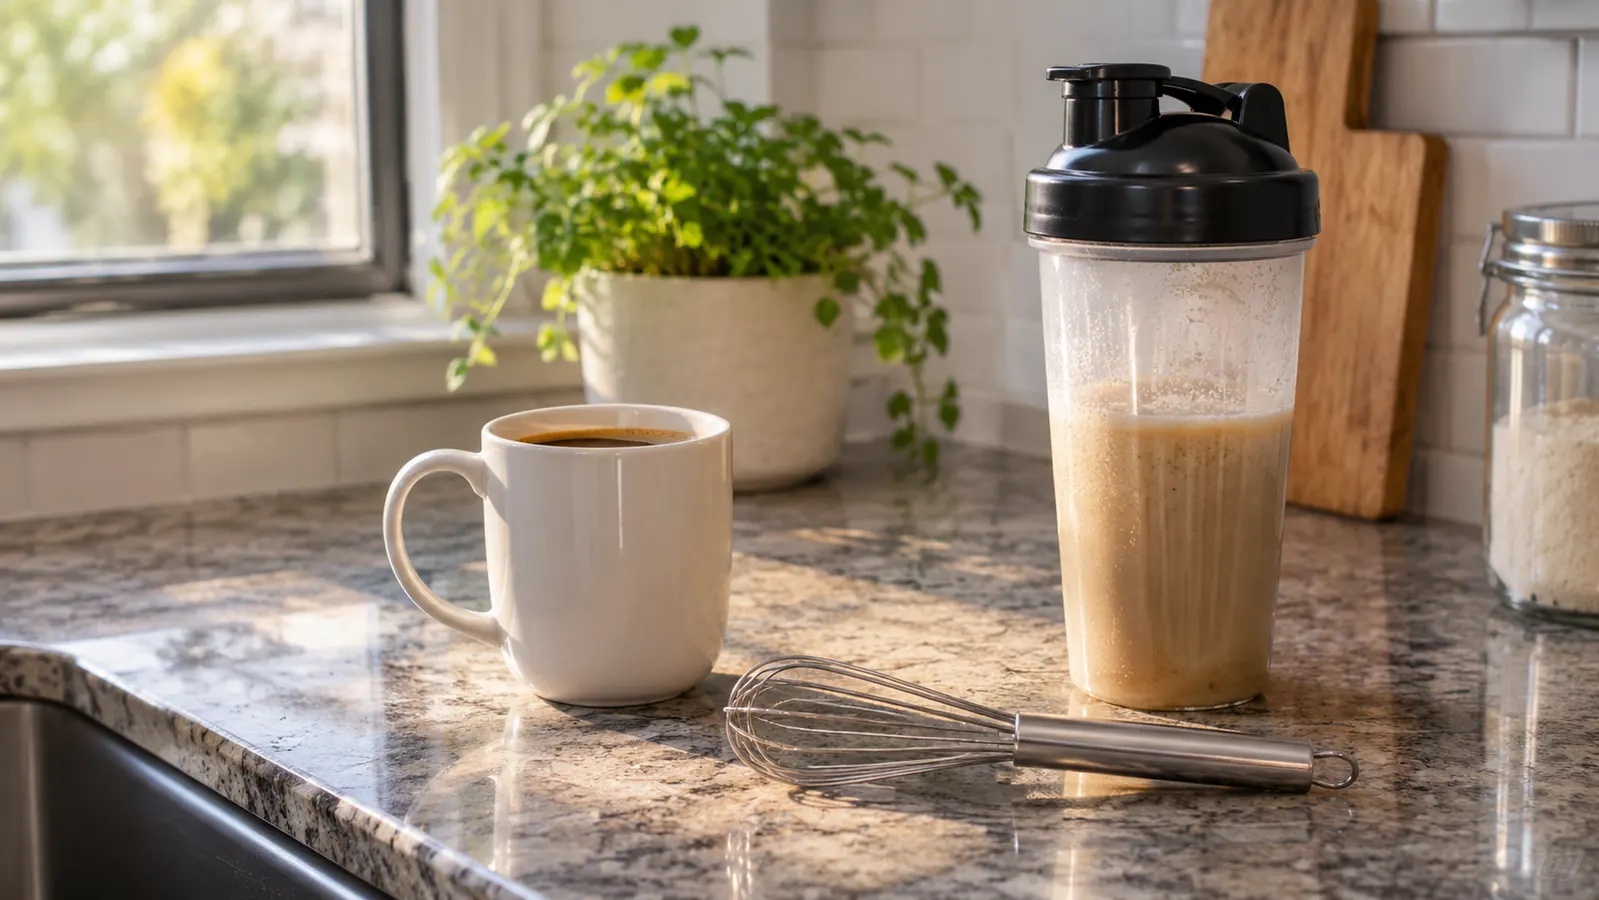
Step 4: Use a shaker bottle for cold coffee and bigger batches
On Saturday I make iced coffee. I put the powder in a shaker bottle, add a splash of cool water, shake it, then add the cold coffee and ice. The shaker does the same job as the paste step, only faster. I use the same serving size. I do not pack the powder down. The shaker is also easier to rinse than a mug with a narrow bottom.
I also use the shaker when I make a batch for Walt and me. Two mugs means two servings, so I measure twice. I do not eyeball it. The label serving is small, and a heaping spoon can turn a smooth drink into a chalky one. I keep a small spoon in the tray for this reason. Walt likes his coffee weaker than I do, so I mix his with more water and less coffee.
If I am taking the drink to the rec center, I mix it in the shaker bottle and leave the ice out until I get there. The powder stays smooth in the refrigerator overnight. I have not had a problem with it settling into a hard layer. I shake it again before I drink it. If I add ice at the rec center, I shake once more after the ice goes in.
Step 5: Adjust the ratio before you blame the powder
If your coffee still feels gritty, the problem is usually ratio, not the product. Too much powder for the amount of liquid will always feel sandy. I use one serving in a normal mug, and I do not add a second serving to the same mug. If I want more collagen, I make a second drink later or add it to a smoothie. More powder in the same mug is not a shortcut.
Thick liquids are harder. I tried mixing the powder into a mug of whole milk once, and it took more stirring than coffee. Now I use the paste step with water first, then add the milk. That small change made a difference. The same goes for cream. I stir the powder into water, then add coffee, then add cream. The order is the same every time.
I also check the jar for moisture. A wet spoon in the jar can cause the powder to cake. I keep the spoon dry and close the lid right away. The jar lives in the tray, not next to the stove. Steam is not a friend to any powder. If the powder does cake, I break it up with a dry fork before I measure, and I do not add extra water to the jar.
What Else Helps
I run my supplement list past my doctor and my pharmacist every year. That is not a formal recommendation. It is just what I do. If you take prescription medication, ask before you add any powder to your routine, collagen included. I also read the label out loud in the kitchen, which makes Walt laugh, but it helps me catch things. The label on my jar says dairy free and gluten free, and the listing says grass-fed, pasture-raised bovine hides.
Timing matters less than consistency for me. I put the jar in the tray next to the coffee maker because I see it first thing. If it were in a cabinet, I would forget it. I use it most mornings, and on the days I skip coffee, I put it in a shaker bottle with water after my walk. I do not double up because I missed a day. I just start again the next morning.
One more thing: collagen is not a complete protein and it is not a meal. I treat it as one small part of breakfast, not the whole thing. I eat eggs or oatmeal with it. I also drink water. I know that sounds basic, but basic is what I teach in class. The powder is a tool, not a magic trick. If your coffee tastes bad, fix the method before you buy a different brand.
I also keep a small notebook in the tray. I write down the date when I open a new jar and the date when I finish it. That is not because the powder goes bad overnight. It is because I want to know how fast I am using it. When I see the jar getting low, I put it on the grocery list. The notebook also reminds me to check the label if the packaging changes. I am 61. I forget things. The notebook does not.
The listing says the powder is hydrolyzed and that it supports hair, skin, and nail health, with joint support listed among the uses. I do not expect a mug of coffee to do heavy lifting. I expect it to taste good and go down smooth. That is the standard I use. Vital Proteins Collagen Peptides Powder meets that standard when I mix it the way I described. When I rush, it does not. The powder is not the problem. My rush is.
The fix was not more powder. It was a splash of cool water, a slow pour, and a dry spoon.
A Smoother Mug Starts With the Same Jar I Keep by the Coffee Maker
Vital Proteins Collagen Peptides Powder is unflavored, dissolves in hot or cold drinks, and comes in a 14.3-ounce jar. Use the serving size on the label and the splash-first method above.
Amazon Check Today's Price on Amazon →